Ruben’s Could Not Be Easier Sourdough—annotated
I strongly believe that we should start in a way that is the simplest possible. It is easy to make things more complex, but it is a lot harder to make them simple once you have invested a lot into…
Common Sense for the New Times
Common Sense for the New Times
I strongly believe that we should start in a way that is the simplest possible. It is easy to make things more complex, but it is a lot harder to make them simple once you have invested a lot into…


In the rainy fall weather of the Canadian Pacific southwest, plants like tomatoes and cucumbers can easily develop blights and mildews before the fruit is ripe. If you wander the back alleys of the once-Italian neighbourhood of Vancouver’s Commercial Drive,…


“Well, should we just give up then?” If only I had a dollar for every time I have heard this, always from well-meaning people.⊕Well, if I had a dollar for each time, I would be drinking Laphroaig right now, with…
I wrote this about five years ago, but had no place to publish it. After the topic of his most recent post veered to razors, John Michael Greer suggested I post it. Joy is a thread that runs through our Small and…
I recently reviewed Jean-Martin Fortier’s book The Market Gardener (summary: Excellent. Buy it) and was reminded of a philosophical and yet very practical farming question I asked him over beer. “Since the economy is contracting, and for many reasons we believe…
The first piece of swag to come out of writing this blog hit my mailbox this spring, when I was asked to review Jean-Martin Fortier’s book The Market Gardener. Sadly, they did not also send me a broadfork. Carmen and I…
One of my comfort foods is whole-wheat macaroni with vegetables. Since I am a lazy cook and reluctant dishwasher I have always just grated cheese and sprinkled it on top of the noodles then stirred it into a clumpy and…
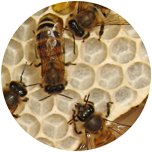
We have honeybees flying in our backyard again, and they have brought our family a noticeable sense of comfort. Our bees died last fall. Likely it was the varroa destructor mite, archvillain of many news stories. Carmen has noticed our…
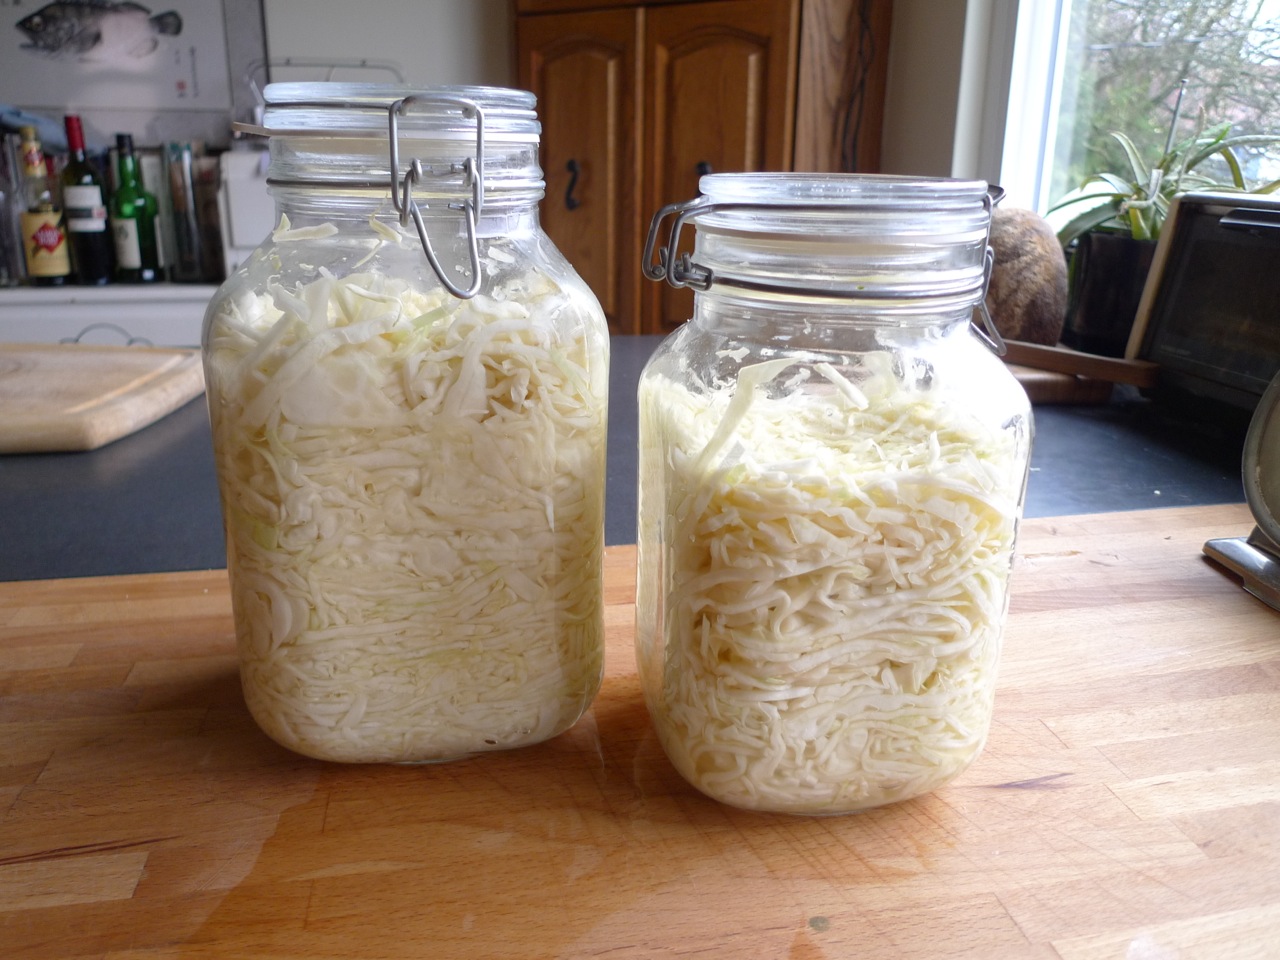
Well over a decade ago, I owned a restaurant, and in the restaurant I sold pickled eggs. I also had a fully waxed handlebar moustache—so there are at least two reasons why I find hipsters to be Johnny-come-lately poseurs. Anyhow,…
The slices of bread on my sandwich were not loaf-shaped, they were round—perfectly round—and it was bursting with alfalfa sprouts. Eaten by a young boy with long, wavy hair and often-repaired glasses, this circular sandwich was part of a pretty…