Compassionate Systems presentation at SCARP

This is a talk I gave at the UBC School of Community and Regional Planning in 2015. Panellists were behaviour change practitioners, and I was asked specifically about Community Based Social Marketing and the behaviour of water conservation.

{ 4 comments }

Introduction to Sauerkraut

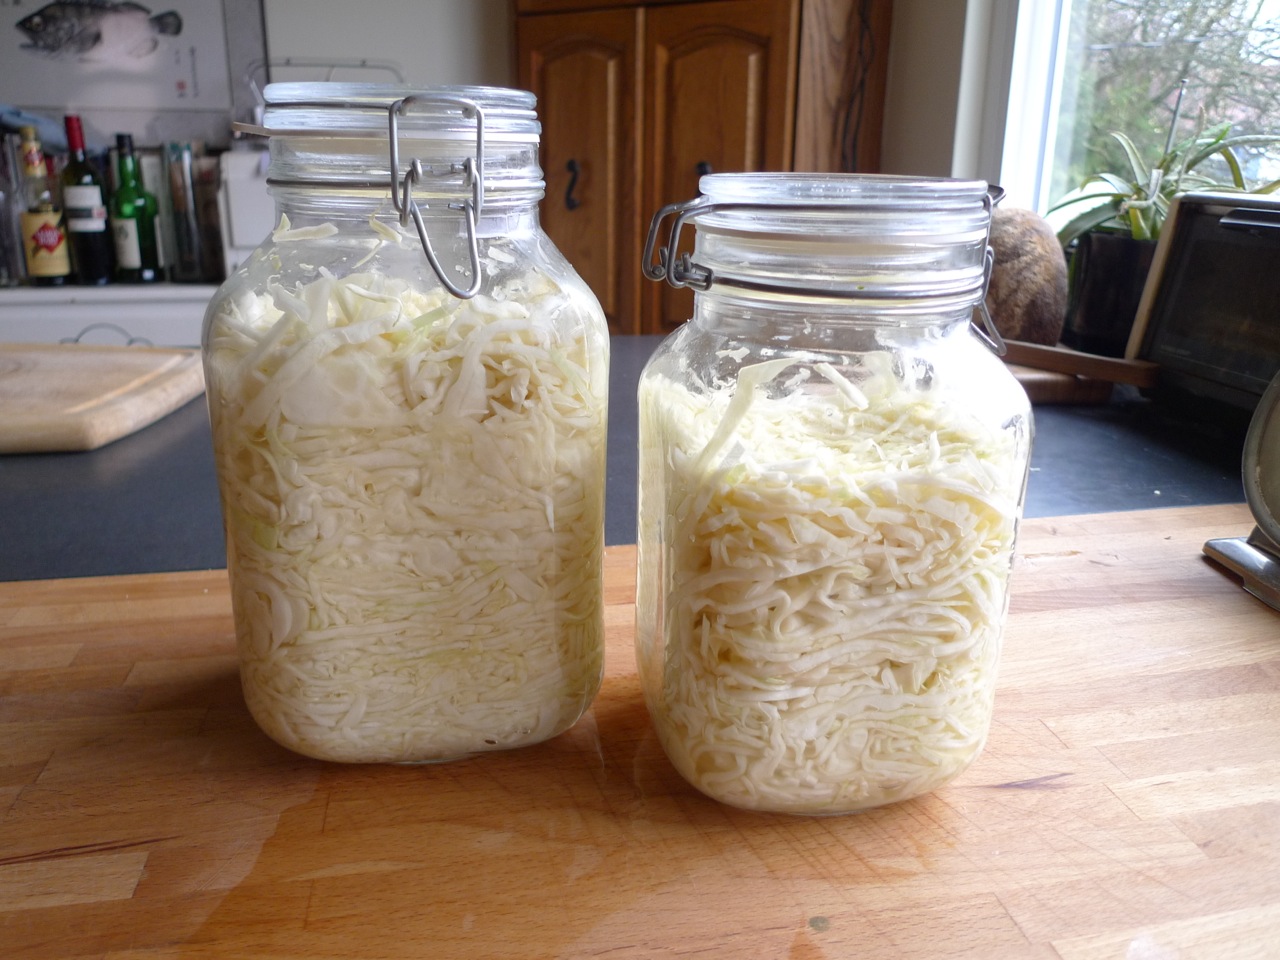
I made this video as a quick introduction to fermented foods for a community I am in. All hail the mighty Fido Jar!

{ 0 comments }

A disaster water filter kit

We live on top of the Cascadia Fault, so it is just a matter of time until The Big One hits. In case the odds are not in our favour we have a few different earthquake kits, which include water purification tablets. 

In the event of a real big one it may be a long time before there is running water again, and so we bought a set of Berkey water filter elements.1 I actually bought these seven years ago, and was just relying on being able to find buckets and use a pocketknife to build a filter system if disaster strikes. 

But the last time we got take-out from Big Wheel Burger2 I scored a stack of five gallon mayonnaise buckets from their recycling area, so I put together a filter kit. 

First, buy a filter or two, and a spigot. Filters are now selling for CAD$168, but a Berkey Filter costs nearly $400 so this is a big savings.

Source two buckets, ideally of the same size and style. 

Drill a hole near the bottom of one bucket, sized for the spigot shank. Step drills are an underappreciated tool that are excellent for safely drilling thin stock, including sheet metal. The downside, though, is that they can quickly make a hole too large.

Put the lid on that bucket, then stack another bucket on top. 

Drill a hole or two through both the bucket and the lid below it, sized for the filter shank.

Nest the buckets, pack the filter in lots of newspaper or bubble wrap, snap a lid on, then duct tape the other lid on, and tape the two buckets together so you can carry them by one handle. 

I also packed a surplus square of polyester sheer fabric in the kit, which was leftover from our cider press. This is useful for pre-filtering water to take out leaves or other debris. 

Now store your kit somewhere accessible in case of disaster. In an earthquake our old house will probably fall down, so the kit is in a garden shed. 

{ 4 comments }

Introducing the Cardbanneton


I will spend good money if there is a tool I know I will use. But if there is something I am unsure about, or something I feel is overvalued, I can be extraordinarily frugal. Such is the case with bannetons. 


My usual strategy is to wait until I find the thing I am looking for in a thrift shop and then at least I am not offended by the price. Bannetons do not seem to come up in my local thrifts, so I proof boule loaves in various stainless or glass bowls. But when I wanted to bake elongated bâtards, the only thing I could find was a long presentation dish—one of my wife’s treasured (and ludicrously expensive) pieces of Astier de Villatte that she brought back from cooking school. I was getting pretty nervous about dumping bread from this delicate ceramic over a hot iron Dutch Oven—so I created a cardboard banneton.


This design nicely holds a loaf made with one kilo of dough, baked in a pan that is about 12” long and 8” wide. 


I used waxed cardboard from a green onion box for this banneton. Waxed cardboard is waterproof, which is good since wet dough is proofing in it, and it is stronger than regular corrugated. To my surprise I found it was easier to work with and creased and cut smoothly. You should be able to find waxed cardboard behind a grocery store, or by asking the produce stocker. There is simply a stunning amount of waxed boxes used to ship vegetables around, and it is often just thrown away if there is not a composting system.
Try to find a box without too many drainage and ventilation holes punched in it. I found a green onion box with tall sides and no holes, and even a pretty flower logo. 


Print the pattern at Actual Size on 11 X 17 paper, or tile it on to two or three sheets of letter size paper. Use the printed rulers to ensure the paper overlaps in the right spot, and tape them together. Find a spot on your box with the fewest holes and take advantage of the features of the box. For my banneton I chose to lay the pattern across the “grain” of the cardboard. Across the grain is how cardboard kinks most easily, so I was concerned about the long edges buckling. But, I wanted one of the corner folds of the box to become one of the folds between the body and the end of the banneton, so I gave it a try. So far so good—and I can always make another one. 


I cut a project like this entirely by just laying the pattern on top of the material and moving weights or stack of books around to hold the pattern in place while I make cuts through both pattern and cardboard. Using a long straightedge, cut both edges to width. Then cut the curved ends, and finally make the four short cuts that free the curved ends from the straight sides. When cutting patterns or stencils on a mat, it is always best to cut straight back towards yourself, so rotate the pattern as needed, or rotate yourself around the table the pattern is on. 


Bakers often have a rectangular steel bench knife, and I found it was the perfect tool for folding the waxed cardboard, but you could also use a ruler, or a heavy spatula—practice on some scraps first. Just place the bench knife on the folding line and put your weight on it. Start by working around the rectangular bottom of the banneton, then by doing the radial folds of the ends. While you are leaning on the bench knife, use your other hand to bend the cardboard up to make a very crisp fold. 


Then simply place the corners of the curved ends outside the body of the banneton, so marks A and B line up, and fasten in place. I used binder clips with the handles folded back, or I think you could quickly sew the corners in place with a few stitches. 


Another fastening technique that might work here is to use a construction stapler with 1/2” staples. I do this when I want to staple the spine of pamphlets, or in other places too deep or thick for a regular stapler. Place the material you want to staple on something soft and thick, like several layers of cardboard, or on short carpet with a foam underlay. Shoot a staple, in this case from inside the banneton. Pull your project up off the soft stack and use needle-nosed pliers to bend the tips of the staple over. 


And there you have your Cardbanneton! Line it with a tea towel, sprinkle the towel generously with rice flour, and lay your shaped dough in to rise. 

{ 4 comments }

A quick belt knife

When Carmen started guiding wilderness quests, we bought a couple of Mora knives, which are strongly recommended by Canadian bushcraft legend, Mors Kochanski.

I have never been a fan of v-grind knives, but I quickly became very impressed with the Morakniv.3 I also became frustrated with using a folding pocket knife for many work and garden tasks, so I thought I would try carrying a belt knife more often—but something a little more svelte than the rubber-handled and plastic-sheathed bushcraft knife.

So I gave myself a Mora blade blank and a set of Japanese diamond-tip leather stitching punches for Christmas and just whipped this up over the weekend. And I mean I whipped it up. Flaws abound.

It is handled with black walnut, from a tree my great-grandfather planted and my grandfather felled and milled. I have a few little scraps that I use for various projects, and a knife like this needs very little wood. I roughly chiseled a pocket for the tang in each side and glued the two halves together with five-minute epoxy.

Then I clamped my belt sander to my bench and started with the coarsest grit I had, just grinding and shaping to fit my hand. I did not guard the edge of the blade at all, which is not very smart, so I was very alert as to how I was positioning my hands and the work so I would not catch the sanding belt. I jumped quickly through a few grits of hand sanding, then soaked two coats of linseed oil into the wood.

With the handle shaped I started working on the sheath. This is a carbon-steel blade so I wrapped it in cling film to protect the blade and to add some bulk around the knife as the leather molded to it.4I cut a scrap of vegetable-tanned leather to a rough shape, then dipped it in hot water and folded it around the knife. The leather can be shaped by rubbing it with your fingers and a few bulldog clamps will hold it in place (and add more rust stains).

I trimmed the belt loop a bit more and skived across the end so it would stitch down smoothly, punched the holes and stitched it with waxed nylon thread. Then I punched the holes along the edge and stitched them down. I used a bit more hot water to mold the opening a bit more so it would not catch on the handle, and to flatten down the belt loop a tad. I trimmed a little bit more here and there to fair the leather edge to the stitch line then I rubbed the edges with beeswax and burnished them with the knife handle. Finally, a few applications of Obenauf’s Leather Oil, which the geeks online seem to think is a good leather conditioner.5

This blank is a carbon steel Mora No. 2/0, which has a three inch blade. It seems a bit small, so I might get around to making one with a No. 1 blade. They offer stainless and even laminated blades, and several different blade shapes.

And I haven’t mentioned the blade price. $9.

Nine dollars. Madness. You can get most blades for well under $20 including shipping from Amazon.

So this was a very inexpensive project, the blade being the only thing I did not have lying around. I found the leather stitching to be particularly satisfying, in that way that makes me wonder if we are literally genetically adapted to feel good when we sew leather.

I am very fond of knives—we even had a one-off6 holiday called the Sabbath of the Knives. I spent several weekends studying with a Japanese sword maker. Sometimes I think I could be happy just making chef’s knives and that I should abandon everything else.

This knife is not that. No metal was harmed in the making of this knife. But I found this little project very gratifying to work on, and I love the sensation of oiled leather and smooth wood in my hands.

{ 2 comments }